That gut-wrenching feeling of finding a negative, or even fake, review on your company's Facebook Page is all too familiar. Your first instinct is probably to look for the delete button. But you'll quickly discover a frustrating reality: there is no direct way for a Page owner to simply delete a negative review.
This isn't an oversight. It's a core part of how Meta designed the platform to build trust.
Why You Can't Just Delete a Facebook Review
Meta’s whole goal is to create a space where customers can share their experiences—good and bad—openly. If businesses could just wipe away any criticism they didn't like, the entire review system would lose its credibility. Recommendations would feel more like curated marketing fluff than genuine social proof.
So, instead of focusing on deletion, you have to pivot your strategy to management and, when it's justified, official reporting. Getting your head around this from the start will save you a ton of time and frustration trying to find a "delete" button that doesn't exist.
A Quick Word on "Recommendations" vs. "Reviews"
You might remember the old 5-star "Reviews" system. A few years back, Facebook switched to a simpler "Recommendations" model where users either "Recommend" or "Not Recommend" a business.
While the format changed, the rules of the game are the same. Both positive and negative Recommendations are considered user-generated content. That means they're protected by Facebook's policies as long as they don’t cross a line. This is where you, as the business owner, regain some control. You can’t get a review taken down just because you disagree with the opinion, but you can report it if it breaks the rules.
Understanding What You Can Actually Report
To get a Recommendation removed, you need to show that it violates Facebook’s Community Standards. Meta won't get involved in a simple he-said-she-said dispute with an unhappy customer. They will, however, step in when the content is genuinely harmful or inauthentic.
Not all negative feedback is created equal. Knowing the difference between a legitimate bad experience and a policy violation is key. This table breaks down what's typically reportable versus what you'll likely have to live with.
Review Types You Can Report vs Cannot Report
| Review Characteristic | Eligible for Reporting? | Reasoning |
|---|---|---|
| Fake or Impersonation | Yes | The profile is not a real person or is impersonating someone else. This is inauthentic content. |
| Spam or Self-Promotion | Yes | The post is irrelevant, advertises another business, or is clearly designed to mislead users. |
| Hate Speech or Harassment | Yes | Attacks on protected characteristics (race, religion, etc.) or targeted bullying are clear violations. |
| Threats or Incitement to Violence | Yes | Any content that threatens harm to your business, staff, or customers is a serious violation. |
| Doesn't Seem Relevant | Yes | Content that is completely off-topic and not about an experience with your business. |
| Just a Negative Opinion | No | A customer had a bad experience and shared their opinion without violating other policies. |
| Factual Disagreement | No | You disagree with the customer's version of events, but they aren't breaking specific rules. |
| Vague and Unhelpful | No | "It was bad." This is an opinion, however unhelpful, and not a violation. |
Ultimately, your job isn't to prove the customer is wrong. It's to prove that their Recommendation violates a specific, documented policy. Facebook will assess your report, and if they agree it breaches their guidelines, they’ll remove it. This process can take anywhere from a few days to several weeks, so patience is key.
The core principle is simple: Facebook protects opinions but not violations. Your success in having a review removed depends entirely on your ability to demonstrate that the content falls into the second category.
Once you master this distinction, you'll be able to manage your Page's reputation with realistic expectations and a clear plan of action.
Building Your Case Against a Problematic Review
It’s easy to have a gut reaction to a negative review—we’ve all been there. But taking it personally won't get the review taken down. Before you even think about hitting that 'report' button, you need to switch gears from feeling defensive to being strategic. Your job isn't to argue your side of the story; it's to become a detective and build a rock-solid case that proves a clear violation of Facebook's rules.
Think about it from Meta's perspective. Their review teams are sifting through thousands of reports. They’re looking for undeniable breaches of their Community Standards, not a he-said-she-said about whether your service was good enough. A vague complaint like "This review is fake!" is just noise to them and will almost certainly be ignored. You have to build a file that makes their decision to remove the review quick and easy.
Gathering Actionable Evidence
The first thing to do is document everything. I'm not talking about one quick screenshot. You need to create a complete record that tells a clear story of a policy violation.
Your evidence kit should have these essentials:
- Full screenshot of the review: Capture the whole thing—the user's name, profile picture, the date, and every word of their comment. Don't crop anything out.
- Screenshots of the reviewer’s profile: This is often where you'll find the most compelling proof. Dig into their profile and look for the classic red flags of a fake account.
- Documentation of other malicious activity: Is this person spamming other posts on your Page? Leaving harassing comments? Screenshot that, too. It demonstrates a clear pattern of bad behavior, not just a one-off complaint.
This collection of evidence is what elevates your report from a simple complaint to a documented incident. It dramatically increases the odds that someone at Meta will actually take you seriously.
Pinpointing the Exact Policy Violation
With your evidence gathered, it's time to connect it to a specific rule in Facebook's playbook. Look for concrete details that a moderator can't argue with.
Is the reviewer's profile a complete ghost town? A stock photo, a brand-new account with zero friends, and no other public activity are all strong signs of an inauthentic account. This is a direct violation.
Then, pick apart the review's content. Does it contain spammy links trying to drive traffic elsewhere? Is the language threatening, harassing, or considered hate speech? These aren't subjective gray areas; they are explicit violations of Facebook's standards.
For instance, a review saying, "The service was slow and overpriced," is just an opinion. But a review that says, "The service was slow, and you should check out my amazing business instead [spamlink].com," is a textbook spam violation.
Your goal is to connect the dots for the person at Facebook reviewing your case. When you can hand them evidence of a fake profile and a spammy link, you've built a case that's hard to ignore.
When It Crosses the Line into Defamation
Sometimes, a review goes beyond a simple negative opinion and becomes outright defamation—a false statement of fact that actively harms your reputation. This is where things get more complicated and can venture into legal territory. While Facebook has policies against bullying and harassment, proving a statement is legally defamatory to a content moderator is a whole different ballgame.
If a review contains false accusations that are causing real, tangible damage to your business, it might be time to bring in a specialist. You can learn more about the complexities of removing defamatory content and how to build a stronger legal case. Understanding the nuances here is critical.
By focusing on evidence and clear-cut policy violations, you turn a frustrating, emotional situation into a structured, methodical process. It's the single most effective way to handle reviews that have no business being on your Page. The clearer and more organized your report is, the better your chance of success. Remember, this isn't about proving you're right; it's about proving they broke a rule.
How to Officially Report a Facebook Review
Alright, you've gathered your evidence and pinpointed the exact policy violation. Now it's time to take action. Reporting a review on Facebook is pretty straightforward on the surface, but getting it right often comes down to the small details you provide. Your main job is to make it dead simple for a Meta moderator to see the violation and agree with your take.
The whole process of getting a review removed really starts with a clean, well-documented, and properly filed report. This visual guide breaks down the essential steps to turn a problem review into a closed case.
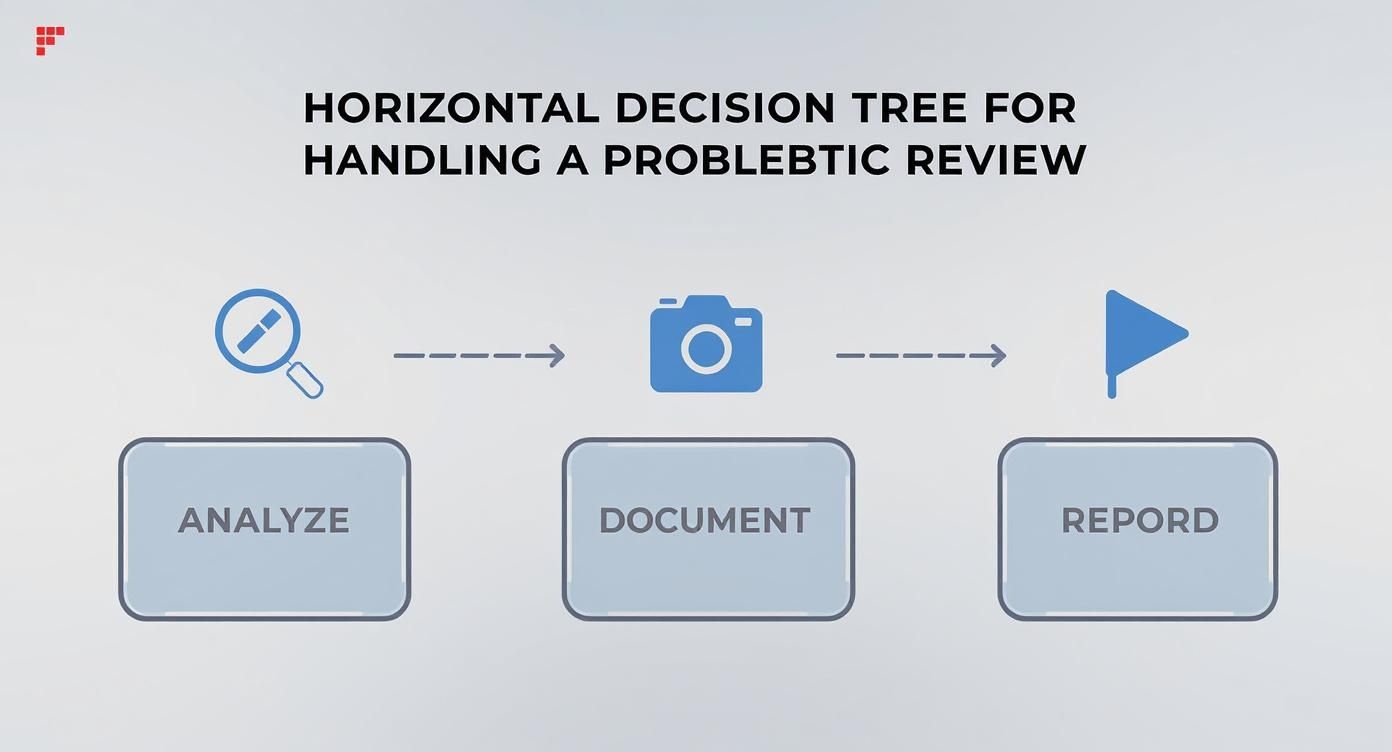
Think of it like a decision tree. It shows the path from analyzing the problem to taking decisive action, highlighting that a successful report is always built on a solid foundation of proof.
Finding and Using the Report Function
First things first, you need to navigate to the review in question on your business Page. The good news is the steps are practically the same whether you're on a desktop or using the Facebook mobile app.
Look for the three little dots (...) right next to the reviewer's name. Give those a click, and a small menu will pop up.
From there, you’re looking for the "Find support or report recommendation" link. This is the starting point for the entire removal process. Once you click it, Facebook will guide you to a list of possible violations.
Choosing the Right Reporting Category
This is where most people go wrong, and it's probably the most critical part of the whole process. You have to select the category that perfectly matches the violation you've documented. If you pick something vague or incorrect, your report is almost guaranteed to be dismissed.
Here are the typical options you'll see:
- Spam: Perfect for reviews that are totally irrelevant, push another service, or contain shady links.
- Hate Speech: Use this if the review attacks people based on race, religion, gender identity, or other protected characteristics.
- Harassment: This is the one for bullying, threats, or abusive language targeting a specific person.
- Nudity or Sexual Activity: Self-explanatory. If it contains sexually explicit content, choose this.
- False Information: Be careful with this one. Facebook is hesitant to get into factual disputes between a business and a customer. It's much more effective for obvious scams or impersonation.
- Something Else: This is a catch-all, but it lets you provide a more detailed explanation if nothing else fits.
Select the option that directly lines up with your evidence. If a review from a fake profile is just posting nonsense links, Spam is your best bet. If it’s making direct threats against your staff, Harassment is the clear choice.
Pro Tip: Don't get tempted to check multiple boxes unless the review is a dumpster fire of several clear, provable violations. Focus on the single strongest, most obvious violation. It makes the moderator's job easier and dramatically increases your odds of a quick resolution.
Writing a Clear and Concise Report
After you pick a category, Facebook usually gives you a text box to add more detail. This isn't the place to air your grievances or explain your side of the business dispute. Keep it short, professional, and laser-focused on the policy breach.
Here’s a simple formula:
- State the Violation: Start by saying exactly which rule is being broken.
- Reference Your Evidence: Briefly mention the proof. For example, "The reviewer's profile was created today and has zero friends," or "This review contains a link to a known phishing website."
- Keep It Short: Seriously. Two to three concise sentences is all you need.
Remember, Meta is dealing with an unbelievable amount of user-generated content. In the third quarter of 2024 alone, they removed 1.1 billion fake Facebook accounts—a number that's been consistent for years. As you can read in these Facebook statistics on RecurPost.com, this massive scale means your report has to be incredibly clear to even get noticed.
By following this disciplined approach—finding the report button, picking the right category, and writing a focused description—you give your report the best possible chance of success.
What To Do When Your Facebook Review Report Gets Rejected
It’s a sinking feeling. You’ve carefully documented a fake or abusive review, submitted your report to Meta, and waited… only to get that generic, automated message: “This review was found not to violate our Community Standards.”
It’s infuriating. But don't give up. That initial rejection is very often not the final word.
The first line of defense at Facebook is usually automated. Your report was likely scanned by an algorithm or given a quick glance by a reviewer dealing with hundreds of tickets. When that fails, it’s time to escalate. This isn't about spamming the report button; it’s about finding a new path to a real person who can apply some common sense.
Look for the "Request Another Review" Button
Sometimes, after a report is closed, Facebook gives you a second chance right away with an option to “Request another review.” If you see this button, click it immediately. This is your best and fastest shot at getting a fresh pair of human eyes on the case, often from a more senior team.
When you get this opportunity, don't just copy and paste your original report. Switch up your approach. If your first report focused on the review being Spam, maybe this time you reframe it as Harassment, assuming the content fits. This gives the new reviewer a different policy to evaluate and shows you have a legitimate, multi-faceted complaint.
Get a Real Person Involved with Meta Business Support
If you run ads on Facebook, you have a powerful tool at your disposal: Meta Business Support. This isn't the public-facing, often-automated reporting form. This is a direct line to a support agent, usually through live chat or email.
This is a complete game-changer. You’re no longer shouting into the void; you’re having a conversation.
To make the most of this chat, you need to be prepared.
- Have your ammo ready. Before you even start the chat, gather your screenshots, the direct link to the review, and the URL of the reviewer's profile.
- Reference your first attempt. If you have a case ID from your initial failed report, lead with that. It shows the agent you’ve already gone through the proper channels.
- Keep it clean and direct. Calmly explain which specific policy is being violated. Point to the evidence. Emotional rants won't help your case, but a clear, fact-based argument will.
Getting your evidence in front of a live support agent can bypass the frustrating automated rejections and lead to a much faster resolution.
The agents at Business Support are often more empowered to dig into complex cases. Your job is to make it easy for them. Present a clean, organized case that leaves no doubt about the policy violation.
The Nuclear Option: Turning Off Recommendations Altogether
Let's say you've tried everything. The review is still live, and it’s doing real damage to your business. You have one last, drastic option: turn off the Recommendations feature on your Page completely.
This is the "nuclear option" for a reason. It doesn't just remove the one bad review; it removes every single one—including all the glowing 5-star recommendations you’ve worked so hard to get.
It’s a massive trade-off, so let’s be clear about what you gain and lose.
The Upside:
- Immediate Relief: The problem review vanishes from your Page instantly.
- Future-Proofing: No one can post any new negative or fake reviews.
The Downside:
- Loss of Social Proof: All your positive testimonials are gone, which can make new customers hesitant.
- Looks a Bit Suspicious: A missing Recommendations tab can be a red flag for savvy customers who might wonder what you're hiding.
This is a tough call. You have to weigh the harm from that one toxic review against the value of all your good ones. But for a business facing a coordinated attack or a truly defamatory review that Meta refuses to touch, it can be the only way to stop the bleeding. It’s just a simple toggle in your Page settings, but the decision is anything but.
Ultimately, getting a review removed often comes down to persistence and knowing how to navigate Meta's maze. If you’ve exhausted these steps and are still stuck, it might be time to bring in a specialist. Our guide on expert review removal services can help you decide when it makes sense to call for professional help.
Proactive Strategies For A Stronger Facebook Reputation

Knowing how to get a bad review removed is one thing, but living in a constant state of damage control is exhausting. The most successful businesses play offense, not defense. They focus on building a reputation so solid that a single negative comment is just a blip on the radar, not a full-blown crisis.
The real goal is to build a powerful buffer of genuine, positive feedback. When potential customers visit your page and see an overwhelming amount of praise, that one disgruntled voice suddenly loses its sting.
Encouraging Positive Recommendations
Here’s a simple truth: happy customers are often quiet customers. They got what they wanted and moved on. Unhappy customers? They’re usually much more motivated to share. Your job is to gently nudge that silent, satisfied majority to speak up.
You don't need a complicated outreach campaign. The simplest methods work best:
- Ask at the peak of happiness. The perfect time to request a recommendation is right after a win—when a project is successfully completed, a client sends a glowing email, or a customer is in your store raving about your service.
- Make it dead simple. Send them a direct link to your Facebook Page's Recommendations tab. The fewer clicks it takes, the more likely they are to actually do it.
- Use low-pressure reminders. A friendly note in your email signature or on a receipt can work wonders. Something like, "Love what we do? We'd appreciate you sharing your experience on Facebook!" goes a long way.
This isn't about being pushy; it's about building a foundation of social proof that accurately reflects the great work you do.
Responding to Every Review The Right Way
How you handle feedback—both glowing and critical—is a public performance. Every response is a window into your company's culture and a real-time demonstration of your customer service. A smart reply can neutralize a bad review and amplify a great one.
Responding publicly shows you're engaged and that you actually care about what your customers think. Silence can easily be mistaken for indifference, while a professional response projects confidence and accountability.
When a negative review pops up, the golden rule is to stay cool and professional. Never, ever get dragged into a public fight. Your reply isn't just for that one person; it's for every future customer who will read it. Acknowledge their problem, show a little empathy, and then immediately move the conversation offline to find a solution.
And don't ignore the good ones! A simple, "Thank you so much for the kind words, Jane!" shows you appreciate them and encourages others to chime in with their own positive experiences. You're reinforcing the exact behavior you want to see more of.
To get this right, it helps to have a clear game plan for handling both scenarios.
Responding to Negative vs Positive Reviews
This table breaks down the best practices for responding to different types of customer feedback to help you build a consistently positive brand image.
| Response Element | Responding to a Negative Review | Responding to a Positive Review |
|---|---|---|
| Tone | Calm, professional, and empathetic. Avoid defensive language. | Enthusiastic, personal, and appreciative. |
| Action | Acknowledge the specific issue and take the conversation offline. | Thank the customer by name and reference their positive comment. |
| Goal | Show accountability and a commitment to resolution. | Strengthen the customer relationship and encourage loyalty. |
| Example | "Hi [Name], we're sorry to hear about your experience. Please email us at [support email] so we can make this right." | "Thanks, [Name]! We're so glad you enjoyed the [product/service]. We look forward to seeing you again!" |
Mastering both types of responses shows everyone watching that you're a business that listens and values its community.
Setting Up Instant Monitoring Alerts
You can't fix a problem you don't know exists. On social media, time is of the essence. A negative review that sits unanswered for days can spiral, gathering views and comments that amplify the damage.
Go into your Facebook Page settings right now and make sure your notifications are set to give you an instant alert for every new recommendation. This lets you jump on it immediately. A quick, professional response shows you’re on top of things and can stop a small fire from becoming an inferno.
By weaving these strategies together—actively encouraging good reviews, responding thoughtfully to all of them, and keeping a close watch on your page—you’ll build a reputation that isn't just protected, but genuinely resilient.
Common Questions About Deleting Facebook Reviews
When a bad review hits your Facebook Page, it's natural to have a flood of questions. Your reputation is on the line, and you need straight answers. Let's walk through the most common questions we get from business owners trying to navigate this process.
How Long Does It Take to Get a Review Removed?
This is always the first question, and the honest-to-goodness answer is: it depends. There’s no magic number.
If you’re reporting something obvious—like a spammy review with a weird link—Facebook's automated systems might zap it within 24 to 48 hours. But if the situation is more complex and needs a real person to look at it, you need to be patient.
We’ve seen cases take anywhere from a few days to several weeks. A few things can speed it up or slow it down:
- How clear the violation is: A review filled with hate speech will get dealt with much faster than one from a suspected fake profile, which takes more digging on Meta's end.
- How good your report is: A detailed report with clear evidence is always going to get looked at more seriously and efficiently.
- Meta's current workload: Sometimes, you're just stuck in a queue. If they're swamped with reports, everything takes longer.
And if your first report gets denied and you have to escalate it? The clock starts all over again. Stick with it.
Can I Just Pay Facebook to Take Down a Bad Review?
Let me be crystal clear: No, you absolutely cannot.
Facebook doesn't have a "pay-to-delete" service. There’s no premium feature or secret back-channel where you can throw money at the problem to make it go away. Anyone who tells you they can pay Facebook directly to remove a review is, frankly, lying.
Success comes from proving a review breaks Facebook's Community Standards, not from how much you're willing to pay. While a specialist service like LevelField can build a much stronger, policy-based case for you, the final call always belongs to Meta’s content moderators.
The Bottom Line: There are no shortcuts. The only way to get a review removed is by using the official reporting channels and proving a clear policy violation.
What Is Facebook’s Actual Policy on Fake Reviews?
Officially, Meta is against inauthentic content. Their policies clearly prohibit fake reviews, spam, and people impersonating others. So, in theory, they should have your back.
The real challenge, however, is proving it. A review from a brand-new profile with no friends or posts might scream "fake" to you, but to Meta's moderators, it's often not enough proof on its own.
On top of that, Meta’s enforcement priorities seem to be shifting. An announcement in early 2025 signaled that their teams are focusing more on "illegal and high-severity violations" to avoid making mistakes on less serious reports. For business owners, this means that a report for a suspected fake review has to be rock-solid to get noticed. Simply saying "this review is fake" won't cut it anymore. You have to build a compelling case.
If I Delete My Facebook Page, Will the Reviews Disappear?
Yes, deleting your Page will wipe out everything associated with it—including all reviews, good and bad. But this is the nuclear option, and it's a terrible idea for almost every business.
Think about what you'd be throwing away:
- Your entire follower base and the community you’ve built.
- All of your posts, photos, and videos.
- Your unique Page URL, which you might never get back.
Starting over from zero is a massive step backward. This should only be a last-ditch effort in a true, catastrophic reputation crisis. In 99% of situations, it’s far better to focus on removing the specific negative review or, if needed, turning off Recommendations for a while. Don't burn the whole house down to get rid of one pest.